
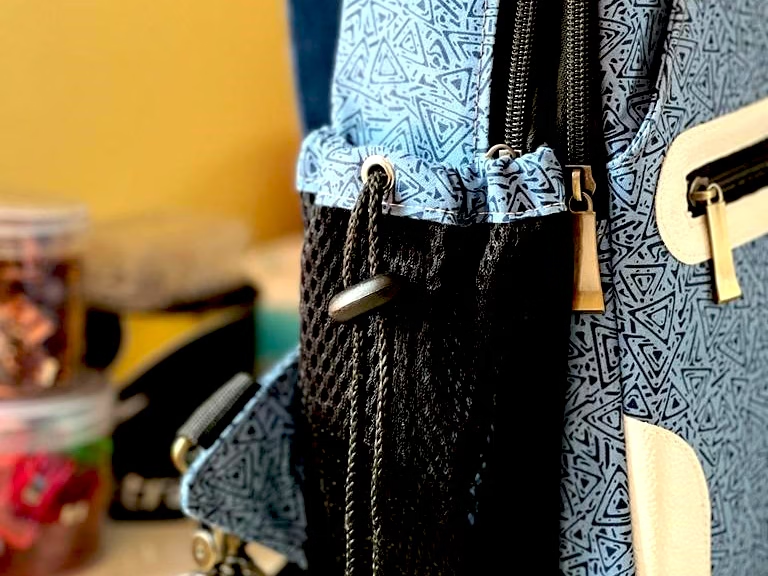
If you’re connected with us on social media, you likely came across one of our recent posts detailing the latest update regarding the Wayfarer Sling Backpack. We’ve incorporated bottle holders into the revamped design and they entail the installation of grommets or eyelets.
Eyelets or grommets are frequently employed to neatly finish off the opening for a drawstring casing. While a buttonhole can fulfill the same function, an eyelet or a grommet adds a polished and professional appearance.

What are grommets or eyelets?
Grommets and eyelets are essentially metal rings that are inserted into a hole in the fabric to reinforce or protect it. They are used to allow wires, ropes, or cords to pass through the material without causing damage or distorting the hole.

Although the terms “grommet” and “eyelet” are occasionally used interchangeably, it’s important to note that there is a distinction between the two. Grommets comprise two components, a front and a back piece, often referred to as “male” and “female” pieces.
In contrast, eyelets are crafted from a single piece of metal that, upon attachment, curls back onto itself while securing the fabric to which it is affixed. Eyelets are less durable and are easier to remove.
What are the tools required to install a grommet?
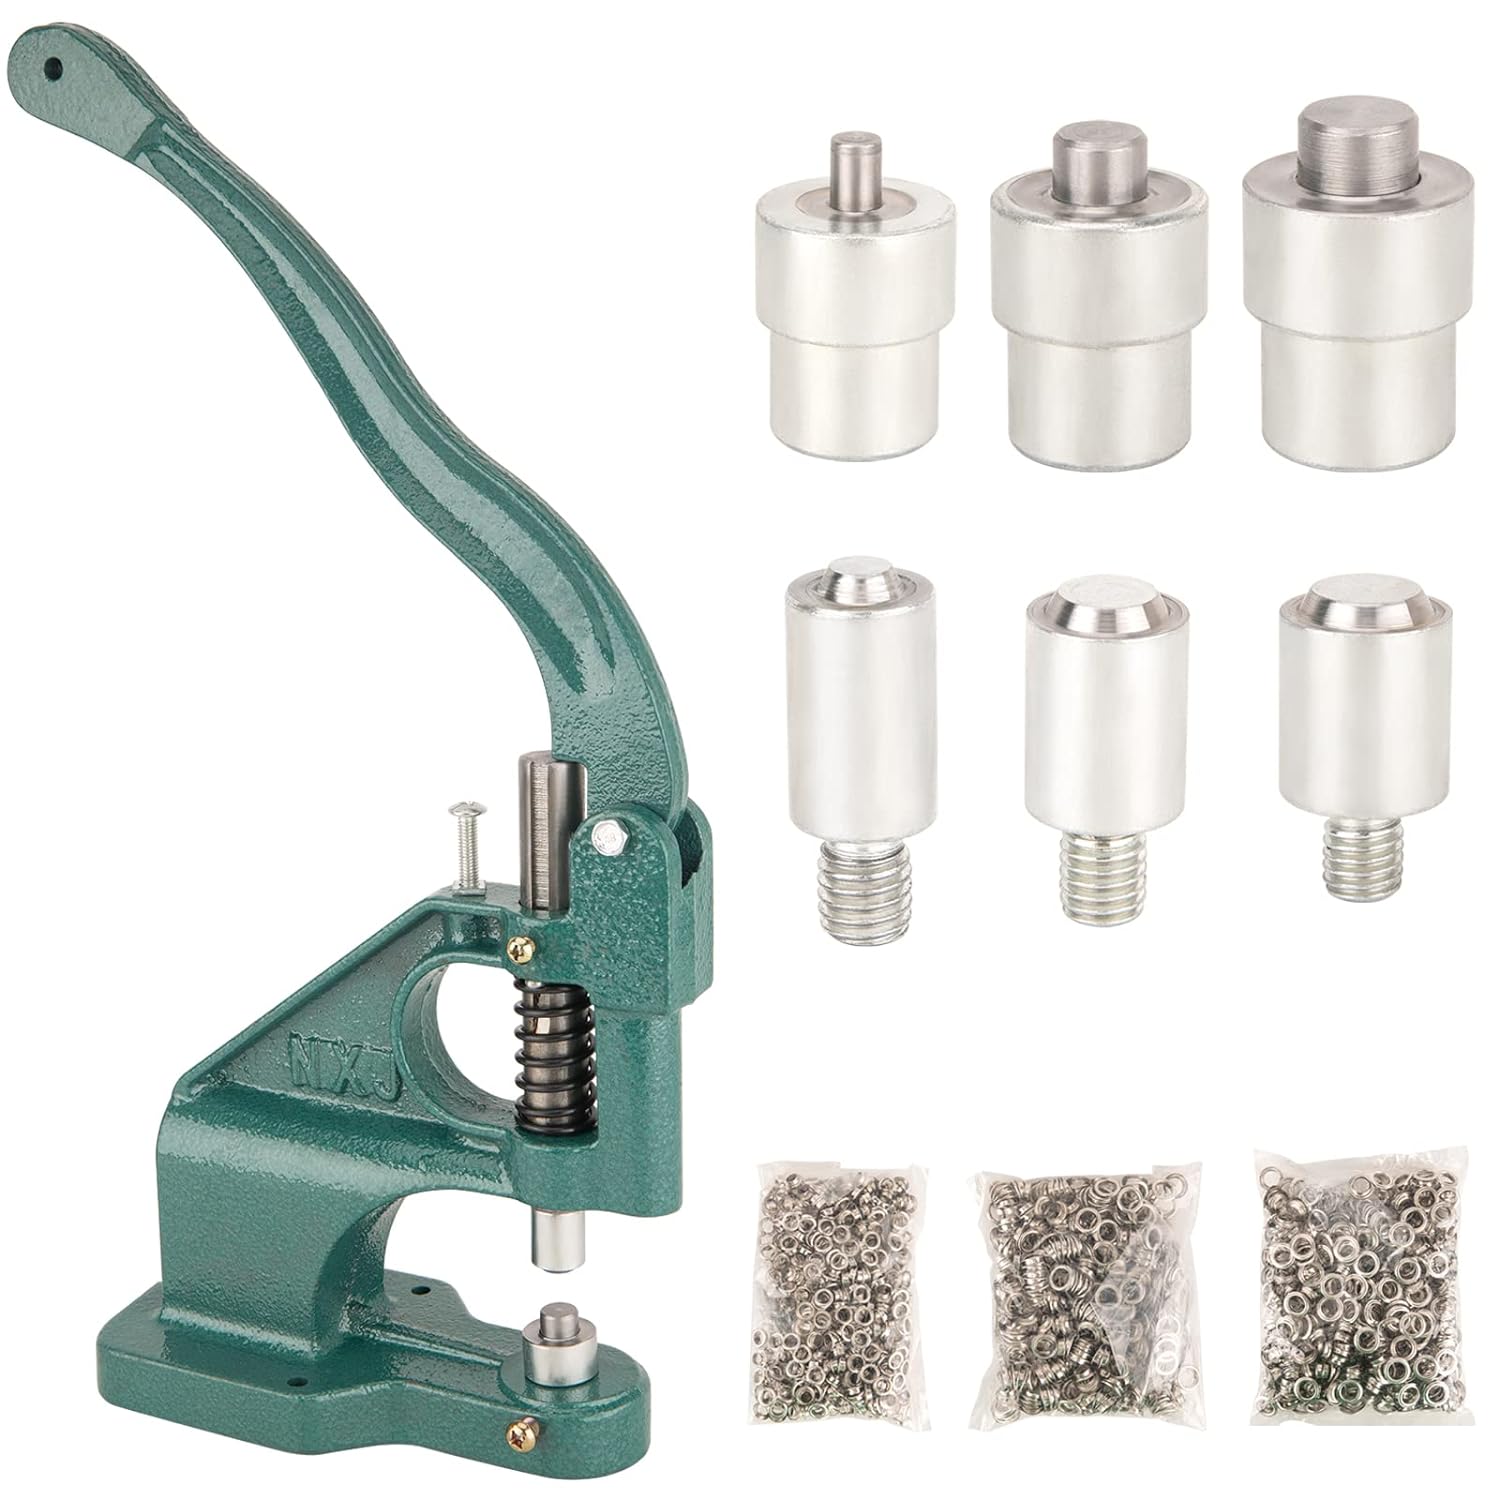
Grommets are available in a range of sizes and every grommet size necessitates a matching grommet installation tool size. However, a convenient solution to this is to obtain a grommet tool kit. With a kit you need not be concerned about the tool matching the size of the grommet you are about to install. Grommet kits are available online and at crafting or hardware stores. You can employ either hand punch tools, machine punch tools or eyelet pliers. (Picture courtesy: Amazon)

- 3/16″ or 9 mm grommets
- Hole Punch Tool
- Setting Tool
- Anvil (small base)
- Mallet
How to install the grommet or eyelet?
Installing grommets is much simpler than you might imagine! Here’s how:

Fuse a 1″ square piece of interfacing or stabilizer to the wrong side of the fabric where the grommet is to be installed.

Trace the hole of the grommet on the wrong side of the fabric.
Punch a hole slightly smaller than the size of the circle using the hole punch tool. You can utilise a hole punch plier with multiple size settings as well.
Alternatively you can snip an x within the circle using scissors.

Place the male portion of the grommet into the hole, inserting it from the right side of the fabric.

Position the washer over the grommet on the fabric’s wrong side, making a sandwich of washer, fabric and grommet.

Slide the anvil under the grommet and make sure that the grommet is centered on the anvil.

Place the setting tool on top of the washer.
With a mallet, gently but firmly tap the setting tool a few times.

When set correctly, both sides will have a finished appearance.
An eyelet does not have a washer. To install an eyelet, follow steps 1 to 3 of grommet installation. The setting tool is placed directly over the flange of the eyelet on the wrong side of the fabric. Use the mallet to gently tap the setting tool and set the eyelet.
Tips while installing the grommet/eyelet:
- Exercise caution when cutting the hole: if it’s too small, the grommet or eyelet won’t fit properly, and if it’s too large, the grommet/eyelet may fall out once it’s set.
- Make sure you are working over a hard surface such as a concrete floor or work desk.
- If you’re new to grommet installation, it’s advisable to practice on a scrap piece of fabric first.
This post may contain affiliate links. I make a small commission if you buy the products from these links at no extra cost to you.