The first block I tried when I first started quilting was a disappearing hour glass block. Although it was not perfect it came out pretty well (except that the two corners also disappeared) and was much appreciated by my quilting group on Facebook.
To make this block I followed Missouri Star Quilt Company’s (MSQC) tutorial on YouTube. Then I added the white, yellow and black borders with mitered corners. Since I was trying mitered corners for the first time I had to watch a few tutorials for the same. I would recommend Penny Halgren’s tutorial on YouTube.
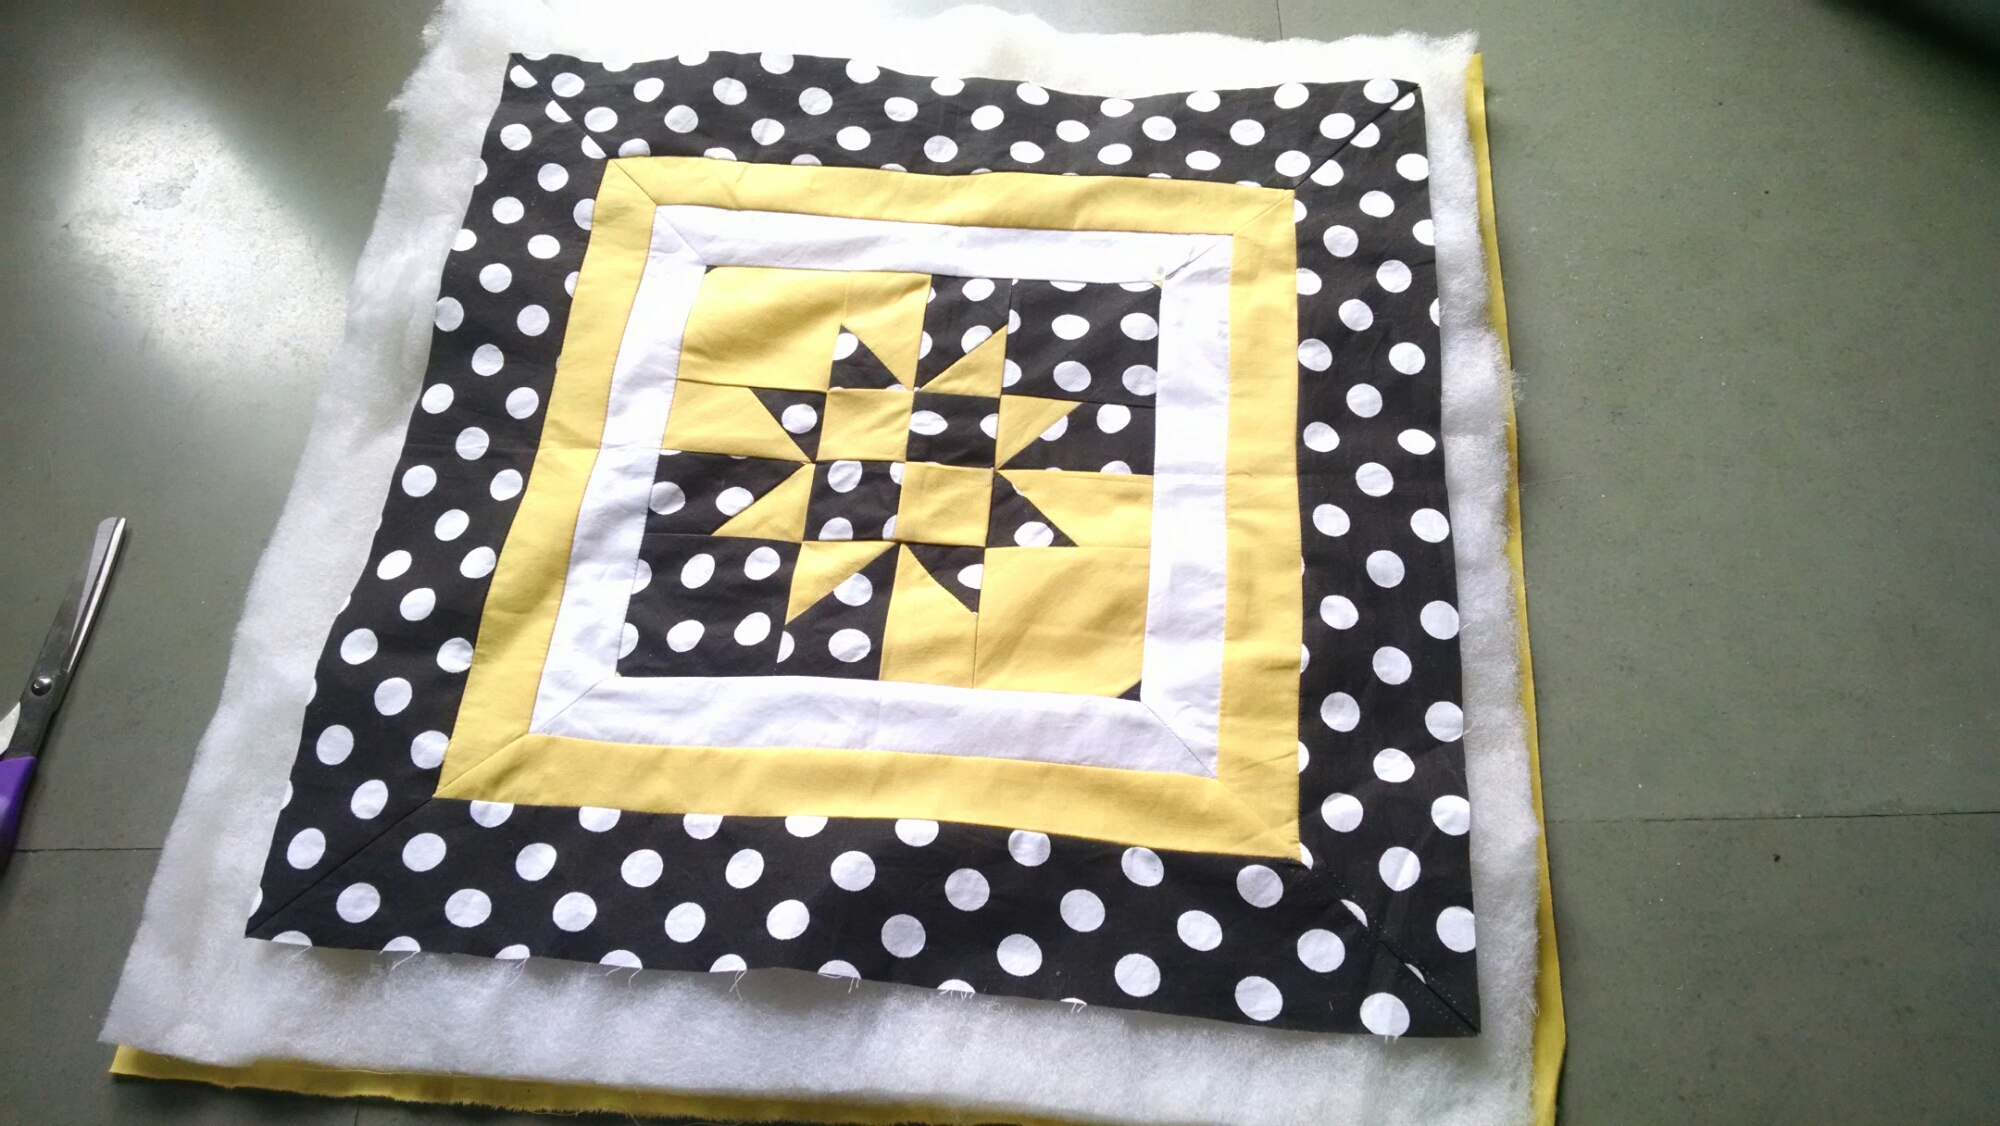
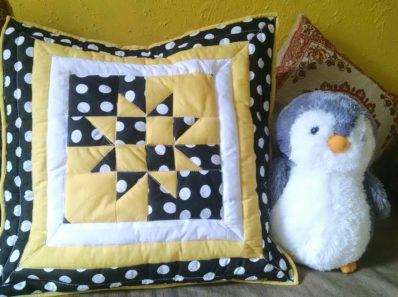
For sometime I wasn’t sure what I was going to do with the block. Then today I decided to make a quilted throw pillow using it. It would be good to practice quilting small projects before quilting larger ones. I used polyester batting and cut it and the backing a size bigger than the quilt block.
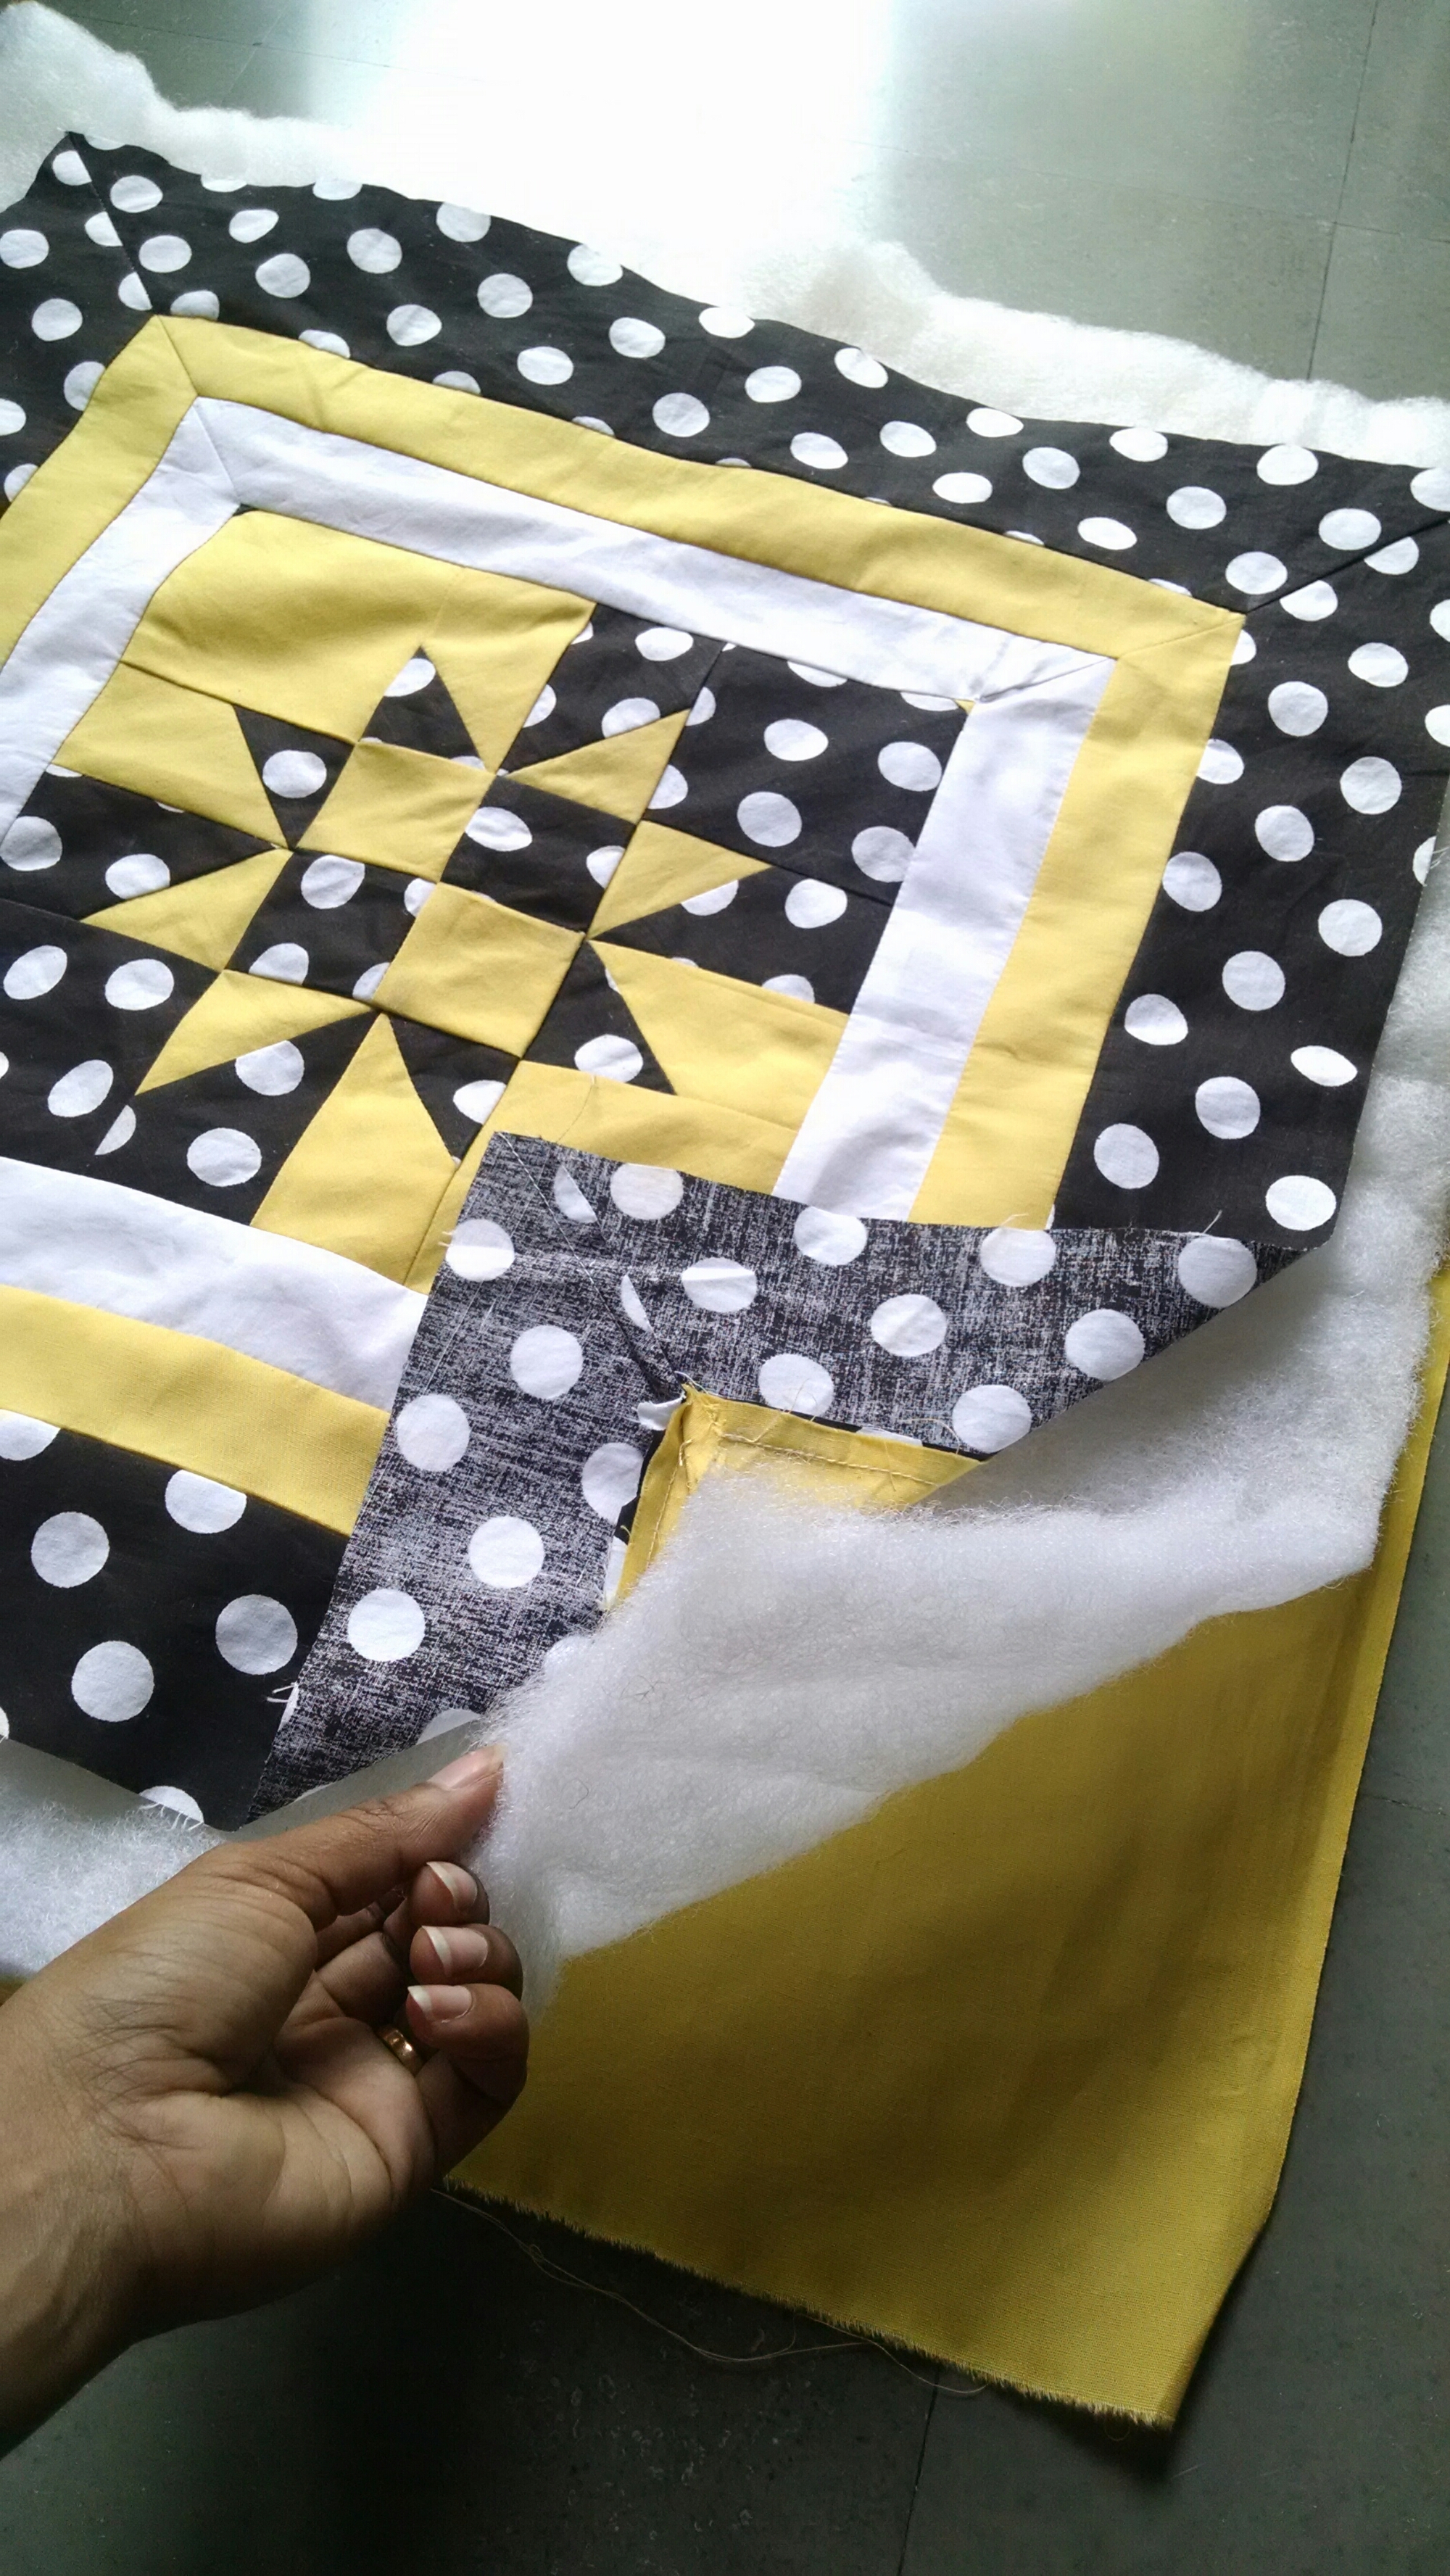
I sandwiched all the three layers, backing wrong side up, batting and then the quilt top right side up.
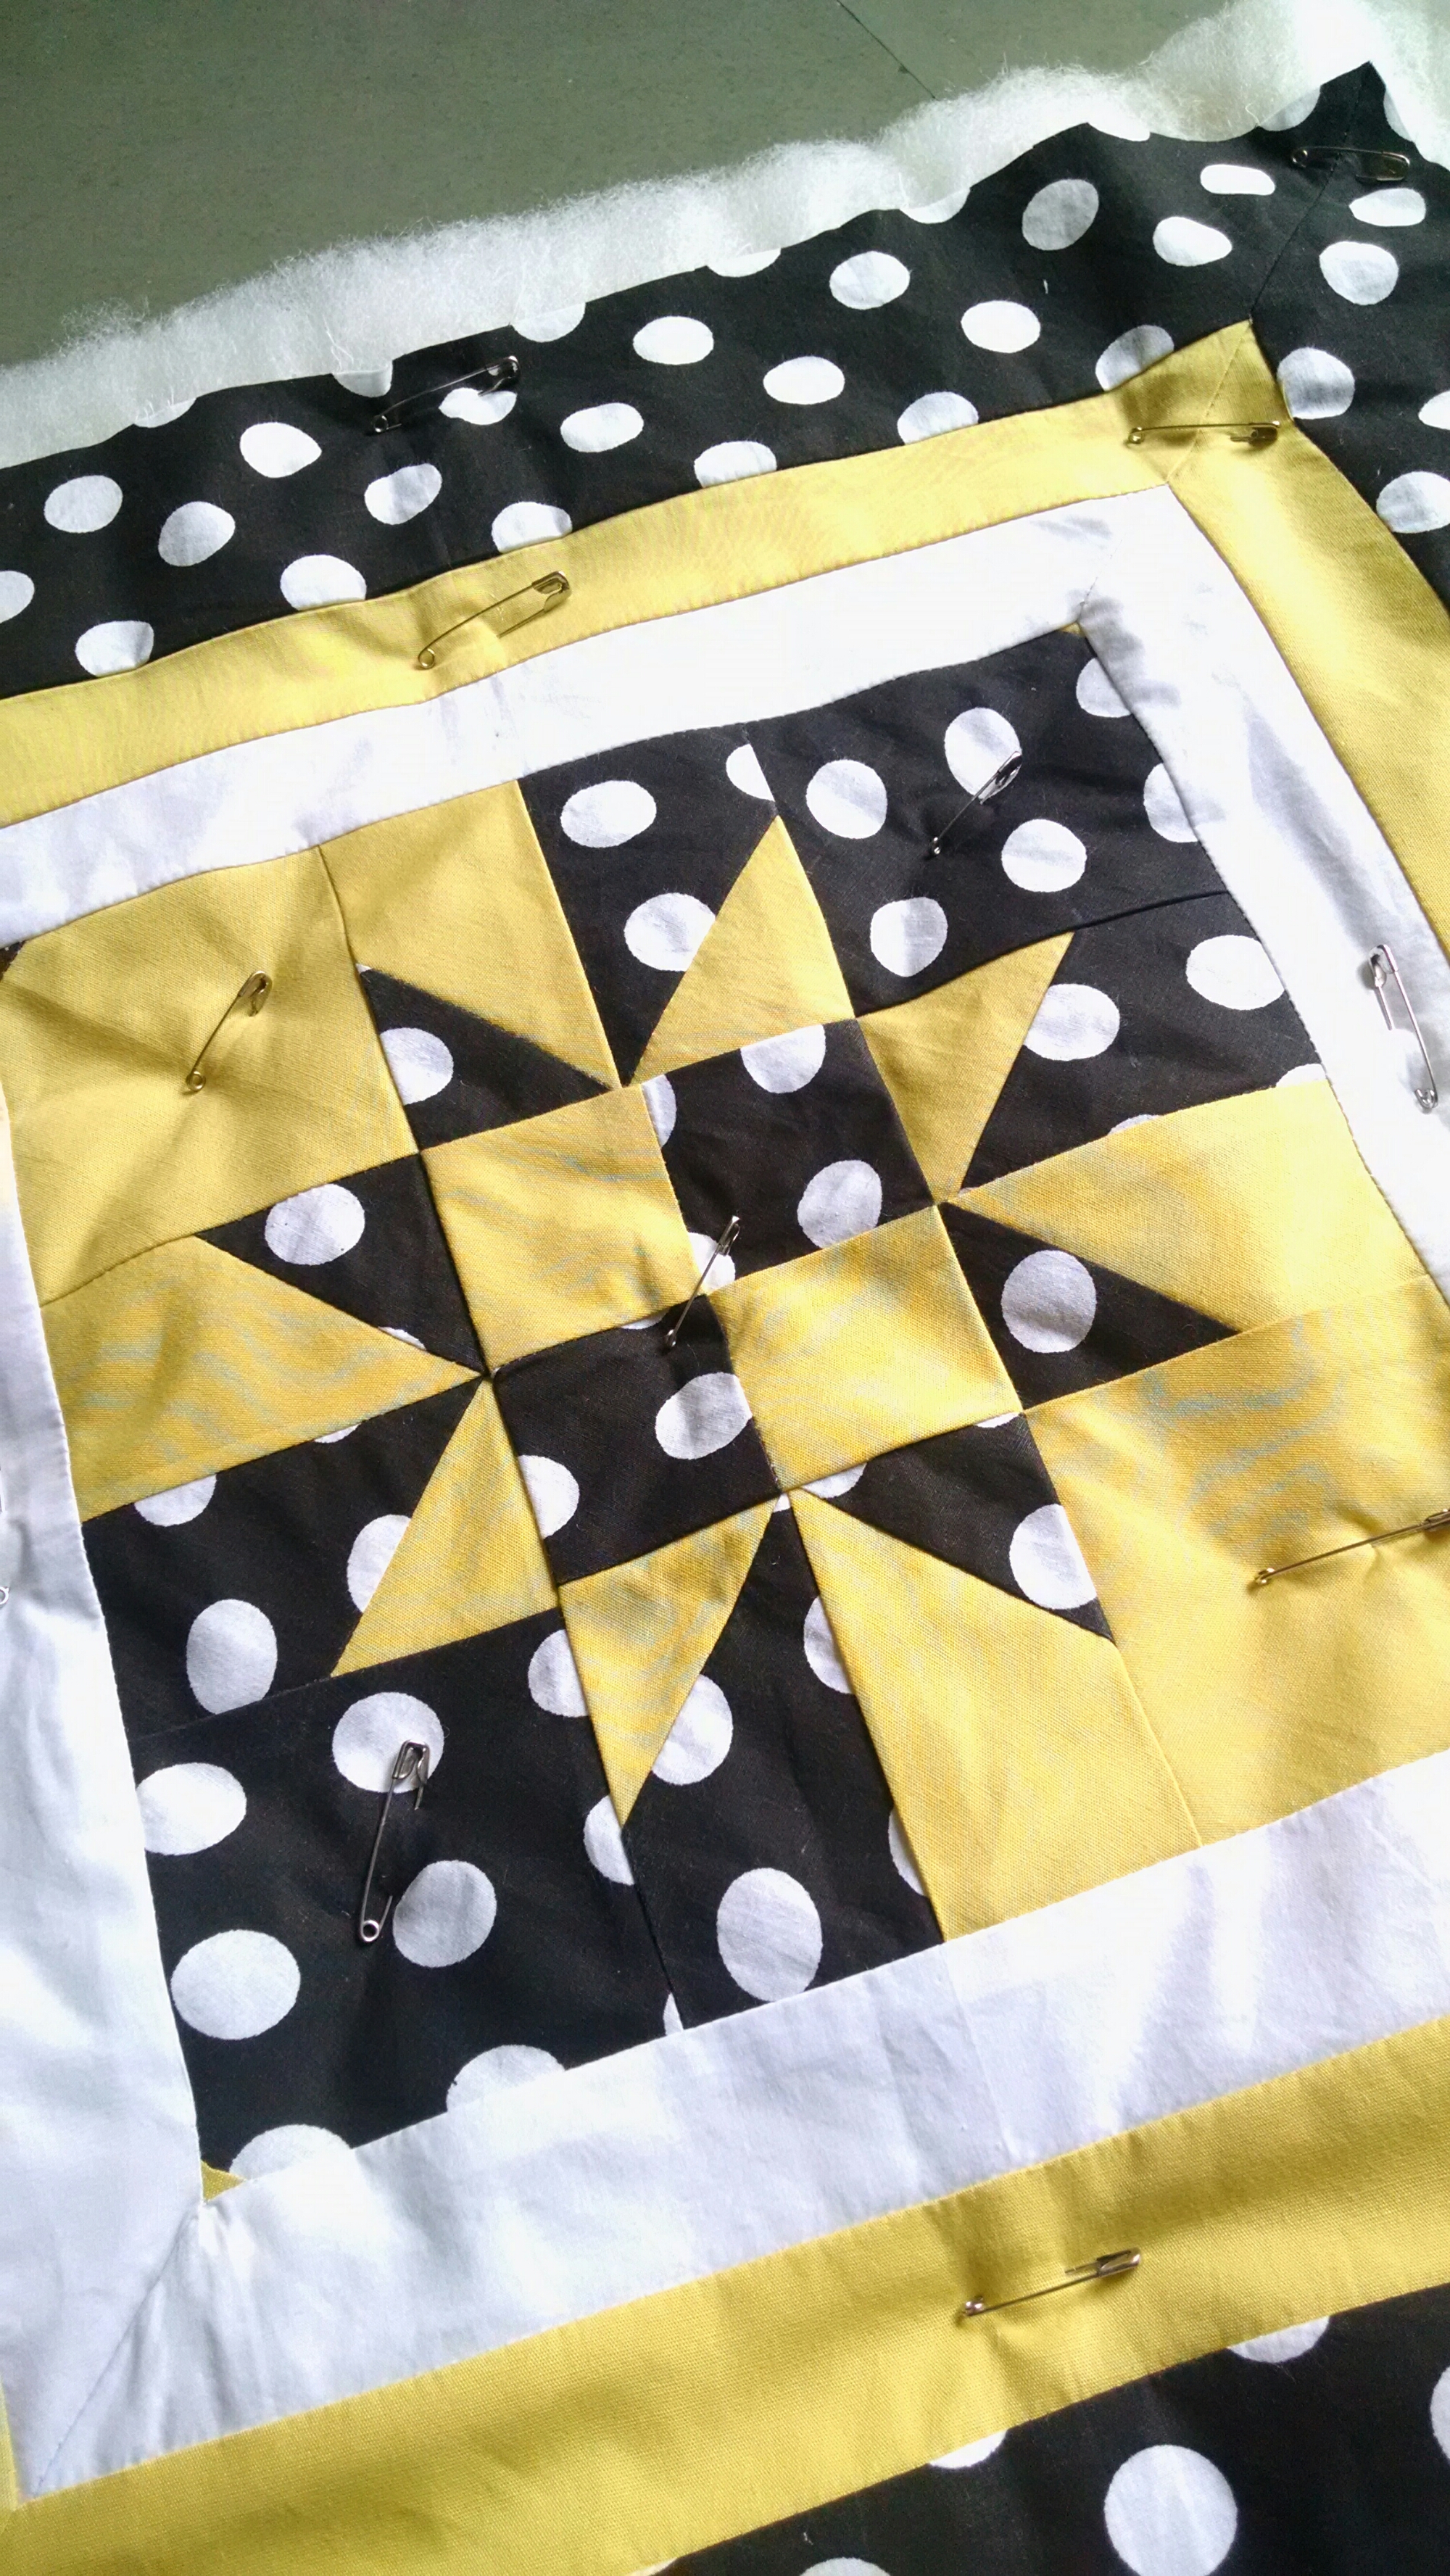
I further pinned all the three layers together making sure that there is no puckering especially in the backing fabric.
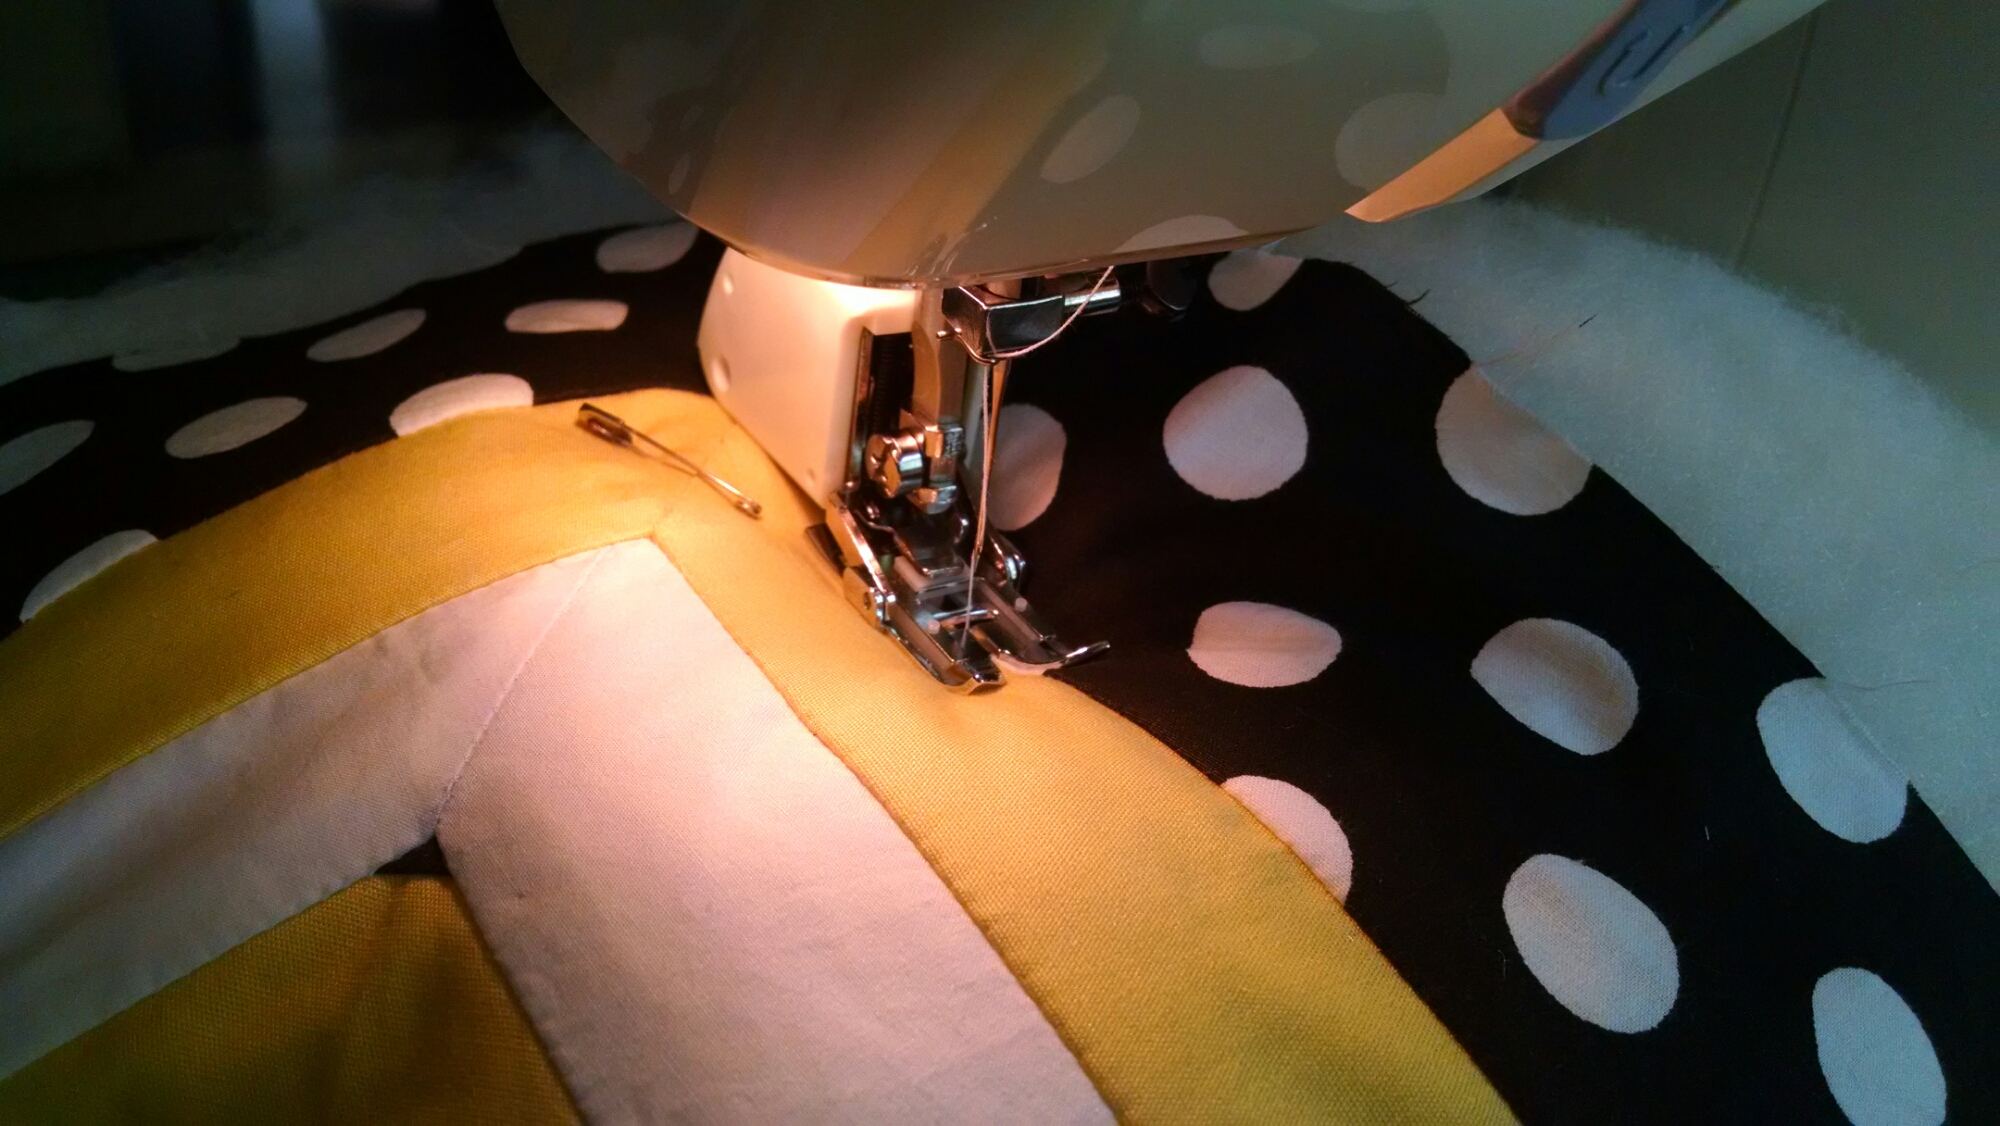
Then it was off to the machine to start quilting. I have a walking foot for my Janome sewing machine. The walking foot is useful when you are sewing through a few layers of fabric because it has an extra set of feed dogs for the top of the fabric being sewn. It is also a handy tool while sewing fabrics that are prone to slipping or puckering.
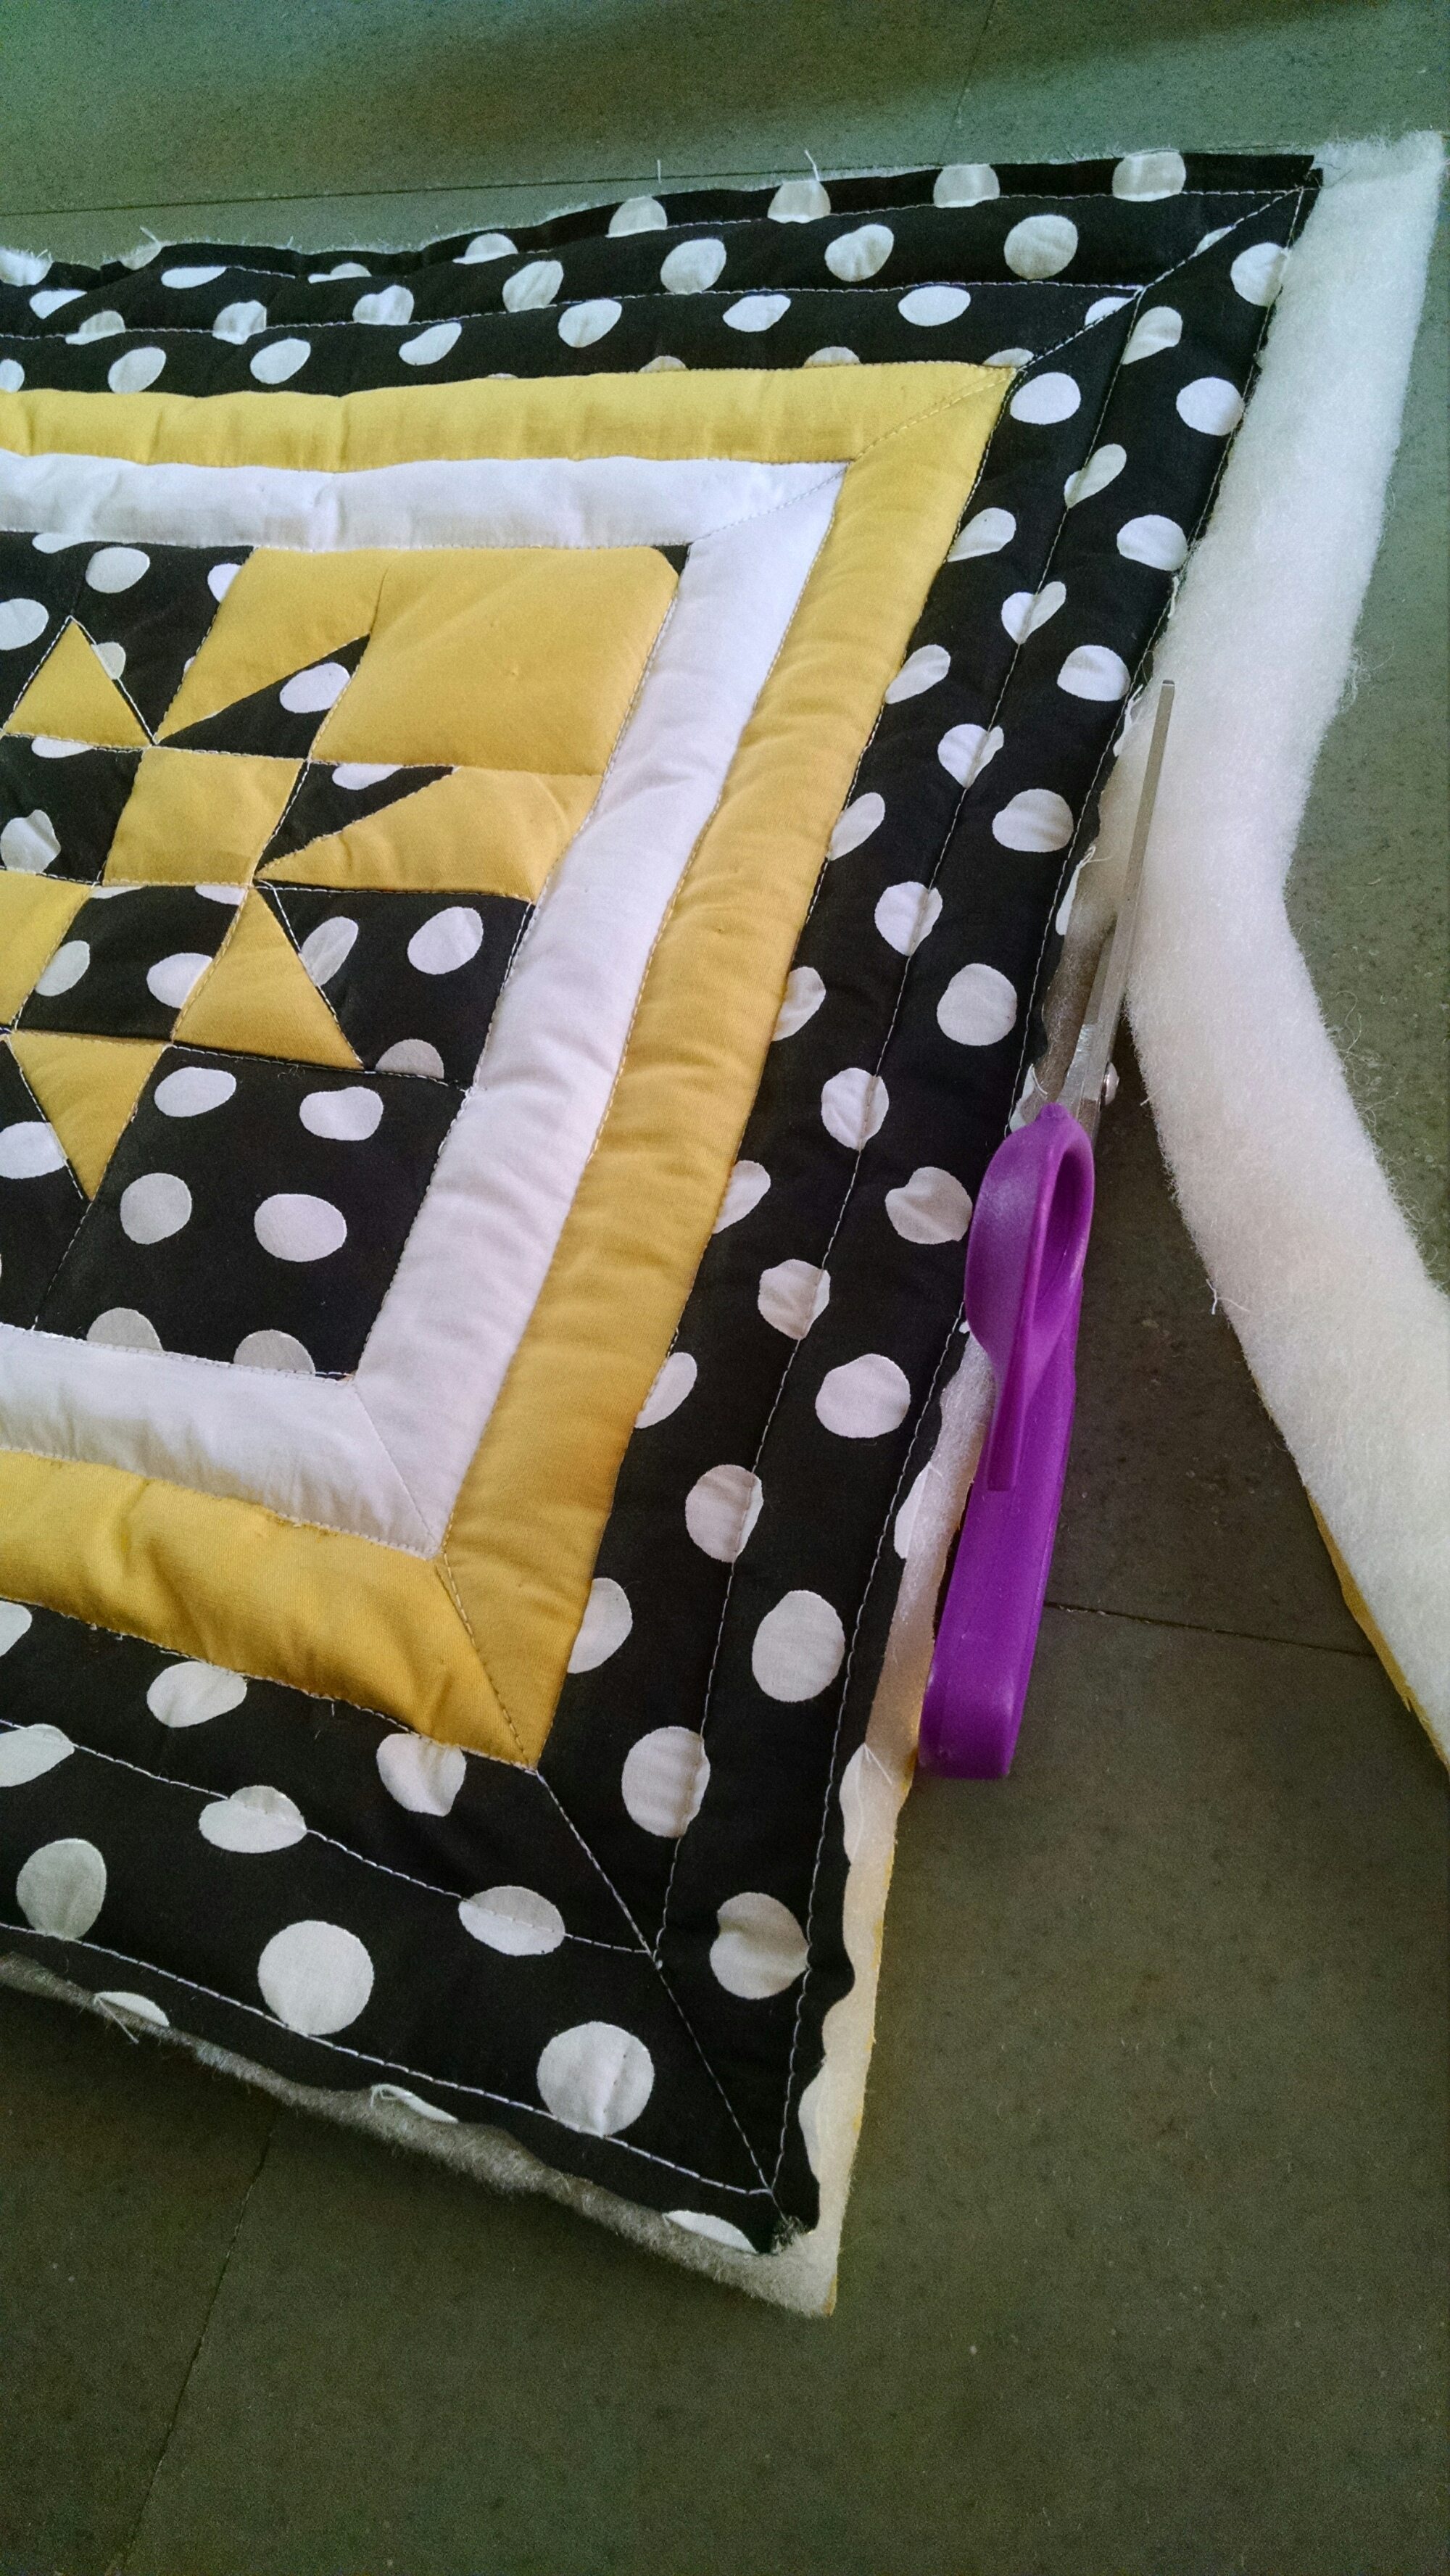
I used the stitch in the ditch method, where you sew in the seams of the block, to quilt this pillow. After quilting I trimmed the edges.
And the quilted top is ready. I’m not very happy with my quilting skills though. A few tips for next time: go slow while quilting, try to maintain a straight line, pin all edges properly, check if backing is getting quilted properly with no puckering and start quilting from the edges.




Wonderful quilt.
Thank you 🙂